Packet Tracer – Configuring RIPv2
Topology
Objectives
Part 1: Configure RIPv2
Part 2: Verify Configurations
Although
RIP is rarely used in modern networks, it is useful as a foundation for understanding
basic network routing. In this activity, you will configure a default route,
RIP version 2, with appropriate network statements and passive interfaces, and
verify full connectivity.
Part 1:
Configure RIPv2
Step 1:
Configure RIPv2 on R1.
a.
Use the appropriate command to
create a default route on R1 for all
Internet traffic to exit the network through S0/0/1.
b.
Enter RIP protocol
configuration mode.
c.
Use version 2 of the RIP
protocol and disable the summarization of networks.
d.
Configure RIP for the networks
that connect to R1.
e.
Configure the LAN port that
contains no routers so that it does not send out any routing information.
f.
Advertise the default route
configured in step 1a with other RIP routers.
g.
Save the configuration.
Step 1:
Configure RIPv2 on R2.
a. Enter RIP protocol
configuration mode.
b.
Use version 2 of the RIP
protocol and disable the summarization of networks.
c.
Configure RIP for the networks directly
connected to R2.
d.
Configure the interface that
contains no routers so that it does not send out routing information.
e.
Save the configuration.
Step 1:
Configure RIPv2 on R3
Repeat Step 2 on R3.
Part 1: Verify Configurations
Step 1:
View routing tables of R1, R2,
and R3.
a.
Use the appropriate command to
show the routing table of R1. RIP
(R) now appears with connected (C) and local (L) routes in the routing table.
All networks have an entry. You also see a default route listed.
b.
View the routing tables for R2 and R3. Notice that each router has a full listing of all the
192.168.x.0 networks and a default route.
Step 1:
Verify full connectivity to all
destinations.
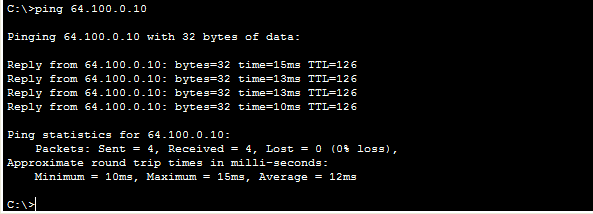
Every device should now be able to ping
every other device inside the network. In addition, all devices should be able
to ping the Web Server.


No comments:
Post a Comment